
SAM User Guide for Students
Answer
Using SAM at Goldey-Beacom College
SAM Cengage is used at Goldey-Beacom College in ITG 148 (Microsoft Word), ITG 149 (Microsoft Excel), ITG 325 (Microsoft Access), and IT 235 (Microsoft PowerPoint) courses. We are currently using Office 2019. Goldey-Beacom College provides the SAM 2019 License and Certification Program. SAM 2019 is an interactive online learning environment that helps students master Microsoft Office software concepts essential to academic and career success. This program provides students with access to SAM 2019 and one Microsoft Office certification exam voucher for each actively enrolled ITG/IT course for each student. This program is also financially beneficial to students because it enables them to utilize SAM 2019 at a reduced rate.
- Participation in the SAM program is mandatory for students enrolled in any of the following courses: ITG 148, ITG 149, ITG 325, and IT 253.
- SAM licenses are given to students who need a code approximately 14 days after the start of the semester. – If you have any issues before then, please contact your instructor with any questions.
- Each enrolled student will be provided one voucher to take the Microsoft certification test for the course at no charge. Should the student need to retake the test, a charge of $45 will apply.
- If you have an accommodation and plan on taking the Microsoft Office certification exam, please visit certiport.pearsonvue.com/Educator-resources/Exam-policies/Accommodations.aspx to learn more about how to request accommodations for the certification exam.
- Once a student activates the SAM 2019 license, the activation cannot be reversed, and the charge of $75 will apply. – Please note that the SAM 2019 license will work for any course that uses Microsoft Office 2019. It is required to use the same SAM 2019 license for each course. You will not be given another one.
- The SAM 2019 license is not transferable and may not be sold/resold to other students.
- Should the College transition to more current versions of Microsoft Office and SAM in its ITG/IT courses, a new Program charge will apply.
- MacBooks should not be used to complete SAM projects.
Table of Contents
- Accessing SAM Cengage
- Creating a SAM Account
- System Check
- Accessing and Entering SAM License Codes
- Enrolling in Your Course Section
- Activity List
- Taking Assignments
- SAM Support
Accessing SAM Cengage
SAM can be accessed by visiting sam.cengage.com. If you have an account, login using your username and password. (Please note, if we are transitioning to a new version, you will need to create a new account using a new email address). If not, follow the directions in the next section, Creating a SAM Account. If you were already in an ITG course that utilizes SAM, you will already have a SAM account. Please login with your previous credentials. SAM courses include ITG 149, ITG 325, and IT 253.
Creating a SAM Account
Please note: These directions are intended to be used by students who are new to ITG and IT courses that utilize SAM at Goldey-Beacom College.
1. Navigate to sam.cengage.com.
2. Click on New User, as shown below.

3. In the textbox, enter the institution's 8-digit institution key provided by your instructor and click Submit, as shown below.

4. Click Ok to continue.
5. Create your user profile. Start by entering your First Name (#1 below).
6. Enter your Last Name (#2 below).
7. Use your GBC Email address as the username (#3 below).
8. Verify your username (#4 below).
9. Enter a password for your account (#5 below).
10. Verify your password (#6 below).
11. Enter your Birth Year (#7 below).
12. Select and Secret Question (#8 below) and enter your answer (#9 below).
13. Check the checkbox to agree to the terms and conditions (#10 below).
14. Click the Create Account button (#11 below).

System Check
Go to sam.cengage.com and click System Check. This will help you make sure your browser is compatible with SAM, and you can access SAM and complete your coursework successfully. Internet Explorer is not recommended for use with SAM. MacBooks are not recommended to complete your coursework, as the projects require using the Windows Microsoft 365 features. SAM projects cannot be completed with the online version; not all features are available with your project.
Accessing and Entering SAM License Codes
Please note: These directions are intended to be used by students who are new to ITG and IT courses that utilize SAM. Students who are new to SAM will be given a license about 14 days after the start of the semester.
1. On a laptop or desktop computer, navigate to Campus Web – campusweb.gbc.edu.
2. Login with your GBC username and GBC password.
3. Click the link for the Technology tab, as shown below.

4. Click the link for Software for Students, Faculty, & Staff, as shown below.

5. Click the link for Academic Licenses, as shown below.

6. Click the My Licenses link, as shown below.

7. Your report with your code is created. Click the My Licenses link, as shown below.

8. You will see a PDF report with your license(s), as shown below. Copy your code, write it down, or open a new window so you can see your code and enter it into SAM.

Now that you have your License Key, you need to enter it into SAM.
9. In a new window, navigate to SAM – https://sam.cengage.com/.
10. Enter your SAM license key code.
11. Your SAM account is now registered!
If you have an eBook – Once you have registered your SAM account, you may now enter your eBook license key that you received when you purchased your eBook to activate your eBook fully. Questions? Please contact your instructor.
SAM Code Says "Code Already in Use"
If your SAM code says "Already in Use" check to see if you already have another SAM account with a different email address. If you are still having issues, please contact Briana Daly at dalybm@gbc.edu for assistance.
Enrolling in Your Course Section
If you are new to SAM, please follow the steps below. If not, please check to see if your instructor has already enrolled you in their course section. If your instructor did not enroll you, please follow the steps below to find and join a section in SAM.
1. Navigate to sam.cengage.com.
2. On the Navigation bar, click Sections, as shown below.
3. Click Join a Section, as shown below.
4. Find your section.
a. Search for your section with the Search box.
b. Filter available classes by an instructor.
c. Click a column head to sort available classes.
d. Click a section name to view section details.
5. Click Join, as shown below. – A confirmation message displays if you are enrolled or waitlisted.
6. Click Ok, as shown below. – You are now enrolled or waitlisted. The section is removed from the list of available sections added to My Sections.
Activity List
The Activity List displays a list of all of your assigned activities. Completed assignments with no more attempts available are not shown. Below is a description of everything you can find on the activity list.
Assignment Name
The descriptive name of the activity.
Type
The type of activity, for example, Exam or Reading.
Available
When the assignment is first available to be started.
Due Date
When the assignment must be complete.
Section
The course section to which the assignment is scheduled.
Status
Completion state, for example, Not Attempted or In Progress.
To start or continue work on an assignment.
- Click the assignment name to display information about it.
Note: Compatibility or other warnings may be shown. For example, some projects are not compatible with Office for Mac. Other projects require you to complete projects on the same type of operating system it was downloaded on. You might be prompted to enter a keycode to begin the assignment. - Click Start, as shown below.
Taking Assignments
You can launch assignments in SAM through the Activity Calendar or Activity List. You can take exams, training, projects, and SAM Path assignments in SAM.
Exam Assignments
Before you start an exam, close all applications except your browser. Then, close any additional browser windows or tabs unless otherwise indicated by your instructor. This helps ensure that the SAM Content Player performance is not affected. This is especially important if you take a timed exam.
- Navigate to sam.cengage.com.
- Next, login with your SAM username and password.
- Select an exam from the Activity Calendar or Activity List, as shown below. – If your specified a password for the assignment, SAM prompts you for it. Enter the password and click Ok.
- The assignment details display in a new window, listing the following information about the assignment:
- The name of the assignment
- Time limit
- Instructions
- Incorrect actions allowed per task
- The number of times an exam can be retaken
- The number of retakes you have remaining
- Click Start, as shown below. – The exam begins when the SAM Content Player opens.
- Follow the displayed instructions to complete the tasks in your assignment.
- Optional: Click View Report to see your results. This option is available in some SAM 2016 exams.
- Click Ok to submit your assignment. Important: Your assignment is not submitted if you close the Content Player by closing the browser window.
- Optional: To submit your assignment with incomplete tasks, click Submit > Yes.
- The assignment details display in a new window, listing the following information about the assignment:
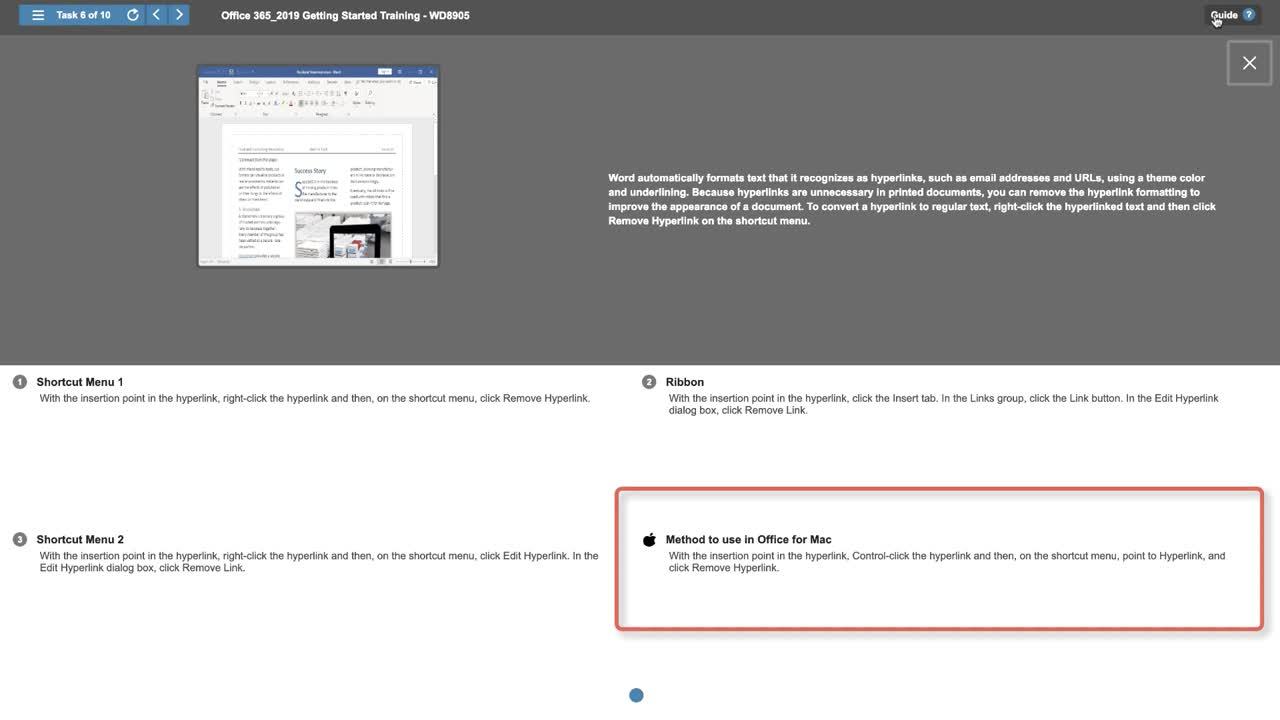
This student resource video was created by Sam.Cengage and covers taking a SAM exam using Office 365/2016/2019: Launching an Exam, Exam Navigation, and Completing a SAM Exam. To access the training video, please watch the video below.
Training Assignments
Use the following steps to take a training assignment. Close all applications except your browser. Then, close any additional browser windows or tabs unless otherwise indicated by your instructor. This helps ensure that the SAM Content Player performance is not affected. If you submit a SAM 2016 training after the due date, your score does not change, but the status of tasks updates in task lists and reports.
- Navigate to sam.cengage.com.
- Next, login with your SAM username and password.
- Select a training assignment from the Activity Calendar or Activity List, as shown below. – If your instructor specified a password for the assignment, SAM prompts you for it. Enter the password and click Ok. The assignment details display in a new window, listing information about the training, including:
- The name of the assignment
- The Due Date
- Notifies you if the Due Date has passed. You can still take the training for practice, but the scores do not update in the Gradebook Reports.
- Click Start, as shown below. – The training begins when the SAM Content Player opens.
- Follow the displayed instructions to complete the tasks in your assignment.
- Click Ok to submit your assignment. Important, your assignment is not submitted if you close the Content Player by closing the browser window.
- Optional: To submit your assignment with incomplete tasks, click Submit > Yes.
This student resource video was created by Sam.Cengage and covers SAM 2019/365: Launching a Training Assignment, Training Navigation, and Completing a Training. To access the training video, please watch the video below.
Note: The training video will look slightly different, as it shows Office 2019. However, the process is still the same for completing SAM 2016 training assignments.
Projects
Projects are SAM assignment types that require you to work in the Windows version of Microsoft Office 2016. When you submit a project for grading, SAM might warn about one or more problems with the submitted project file. Windows Server 2008 R2 or later.
Completing a Project
To complete and submit a project assignment in SAM, download a start file, follow the project instructions, save your work, upload your files to SAM, and submit your work. Projects are not compatible with Office for Mac; projects need to be completed using the Windows desktop version of Microsoft Office.
1. Navigate to sam.cengage.com.
2. Login with SAM username and password.
3. Click on the project name to display information about it.
4. Click Start, as shown below.
5. Download the project start file, instructions, and support files.
- Instructions tell you what you need to do to complete the project. – Textbook projects don't include an instructions file. Click the module link to open the textbook for instructions.
- Start files are the Microsoft Office files you change when completing the project. Every project has one or more start files.
- Support files like images might also be provided for you to use when completing the project.
Important – Start files are not interchangeable between projects, courses, or students. Don't use a start file from any other source.
6. Follow the project instructions to complete your project with Microsoft Office.
7. Save your project files.
Important: Make sure the filenames match the filenames listed under Expected File Name.
8. If needed, repeat steps 3 and 4 to return to the project.
9. Upload your work to SAM.
- You must upload your work before submitting it.
- Drag your project files from Windows Explorer to the Save Work to SAM panel. Alternatively, you can click Browse files and select the project files to be uploaded.
10. Submit your project.
- After uploading your final project files, click Submit in the Submit for Grade panel to submit your work.
- If the project can't be submitted, correct the listed problem and upload the project again. For details, see the Project Reports section below.
This student resource video was created by Sam.Cengage and covers: Launching a Project, Project Instructions, Start Files, and Submitting your Project. To access the training video, please watch the video below.
Project Reports
Use this procedure to open and view reports and study guides for activities in a particular section of your course.
- On the task bar, click Reports to display Reports view.
- From the Section drop-down list, select the appropriate section.
- Select filters for the types of activities to locate (Exams, Training, Projects or SAM Paths).
- Do one of the following:
- To open and view the report for an assignment, click Report in that row.
- To open and view the study guide for an assignment, click Study Guide in that row.
- To view all reports, click View all Reports.
- To close the report, click X in the upper right of the report window.
Wrong Name Error
When uploading a project file, a Wrong Name error displays, and you cannot submit your project.
This happens if your project filename is not the same as listed in the project information.
Often, this happens for one of two reasons:
- You didn't rename the project file as specified in the project instructions.
- You added a filename extension (like .docx) to the project filename because the extension was not displayed by Windows Explorer or the Mac Finder.
Resolution: Find the expected filename under Expected File Name, rename your project file, and upload it again.
Wrong Format Error
When uploading a project file, a Wrong Format error displays, and you cannot submit your project.
This happens if your project's Microsoft Office® version and file format do not exactly match the expected file format.
Some ways this can happen include:
- Using Save As to change the file format or version.
- Changing the file extension or adding a file extension manually.
- Using an application other than the required version of Microsoft Office to work on your project file.
Resolution: If you change the file format or extension, use Save As to save your project file in the correct file format and with the correct file extension. If the error persists, you might want to download the start file again and start over.
Wrong Application Error
When uploading a project file, a Wrong Application error displays, and you cannot submit your project.
This happens if you use an application other than the required version of Microsoft Office® to work on your project file. SAM rejects project files created by applications such as:
- Office 2008 for Macintosh
- WordPad for Windows
- Any version of the full Office 2007 suite
- Third-party applications that support Office file formats
Resolution: If you used a tool other than the required version of Microsoft Office, open your project using the correct Office application and save it again.
Virus Detected Error
When uploading a project file, a Virus Detected Error error displays, and you cannot submit your project.
This happens when SAM detects a known virus in your project file.
Resolution: Run an anti-virus utility to disinfect your computer and any other computer on which the file might be stored. Popular products include Norton AntiVirus and McAfee VirusScan.
- If the anti-virus utility can remove the virus from ("disinfect") your project file, upload your project.
- If the anti-virus utility cannot remove the virus, it will delete or quarantine your project file. In this case, you need to download the start file again and start over.
Maximum File Size Exceeded Error
When uploading a project file, a Maximum File Size Exceeded error displays, and you cannot submit your project.
This happens if your project file is larger than allowed.
Resolution: Edit your project to remove extra content or reduce the file size of the embedded media. For Access projects, compress the database before submitting it to SAM. From the Office menu, select Manage/Compact and Repair Database.
Project Incident Rejection Error
When submitting a project file, a Project incident rejection error displays, and you cannot submit your project.
Project incidents result when your submission includes:
- A file from a different assignment or student.
- A file with some or all of the content copied from a different assignment or another student's file.
- A non-SAM generated start file.
- A non-SAM generated start file with some or all of the content copied from a different assignment or another student's file.
Resolution: Download the start file again and complete your project based on the correct start file.
SAM Support
Contact customer support with additional questions
- Go to support.cengage.com.
Alternatively, from SAM, click Help > Tech Support.
- Sign in to your SAM account.
- Click Log new case.
- Enter the necessary information and click Create Case.
You can also contact customer support at 800.354.9706.